

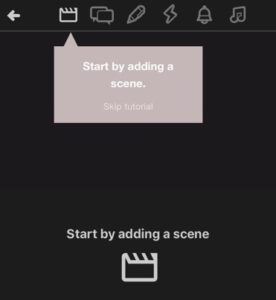
Select a Scene
Begin writing your script by selecting a location. Click the Scene icon and then click the “SCENE” text to launch the Scene Selector.
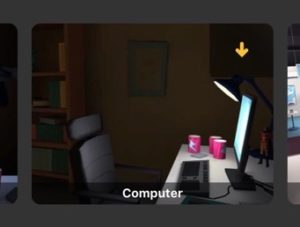
The Scene Selector is where you can choose from Plotagon’s 200+ original 3D locations. Scroll down to see the scene categories, and scroll across to see the available scenes within each category. Choose the scene that you wish to use in your script. When you return to the Script Editor, you will see the scene in the preview window.
A few notes regarding the Scene Selector:
If a scene has a down arrow, then click on the scene to download it from Plotagon’s servers.

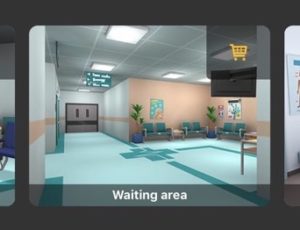
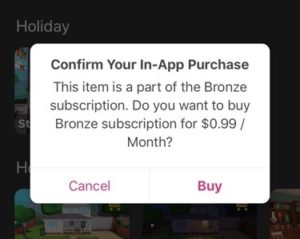
- If a scene has a shopping cart icon, then that means it is available as part of a subscription plan. Click the scene to choose the plan and make an in-app purchase.
- To exit the Scene Selector without choosing a scene, click the X icon at the top-right hand corner.
Choose Characters
Once you add your scene, you will see a line that says “Character is” followed by a location within the scene. Click this text to launch the Character Selector. Plotagon’s Character Selector displays two kinds of characters:
Standard, ready-made characters that Plotagon ships with the application (Mr. Hernandez, Jessica, Lizzie, etc.).
The custom characters that you make on your own using the Character Creator.
If you want to remove a character from the scene, then click the X icon that says “No character”.
If the scene has room for more than one character, then you will see a second line that says “Character is” followed by a location within the scene. If you wish to add a second character, click this text to launch the Character Selector again.
To switch to a different character in the scene, click on the character’s name to launch the Character Selector again.
Select the characters’ locations
Once you choose your character, that character will appear in the video preview window. To change the character’s location in the scene, click the text that appears to the right of the character’s name. Example:
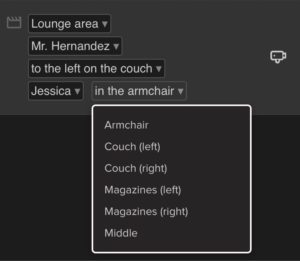
Each scene includes several preset locations from which to choose. Note that two characters cannot be in the same location in the same scene.
Extra characters
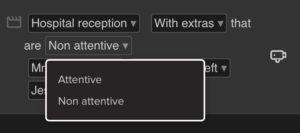
Certain scenes also let you include extras. These are non-speaking characters that exist in the background. If you see the text “Without extras”, then it means extras are available in the scene. To include these extras:
Click the text “Without extras”.
Change it to “With extras”.
The text will change to say “With extras that are “Non attentive”.
Extras can be either non attentive or attentive. Non-attentive extras will ignore any conversation between the main characters and instead look away and mind their own business. These are good choices to have in the background in public places like restaurants and cafes.
Attentive extras will follow whatever dialogue you write and look at the character that is speaking. These are great for scenes like office meetings or classrooms. To make your characters pay attention to the conversation, click the text “Non attentive” and change it to “Attentive”.

Related posts
An overview on the subtle differences between drawing your favourite super heroes and every day people. Once you see the simple adjustments you'll discover that with a bit of practice you'll be drawing comic book characters with the best of them! miamisuperhero reviews
ReplyDelete